Winter Home Maintenance: Inspection, Professional Work and Removal Planning
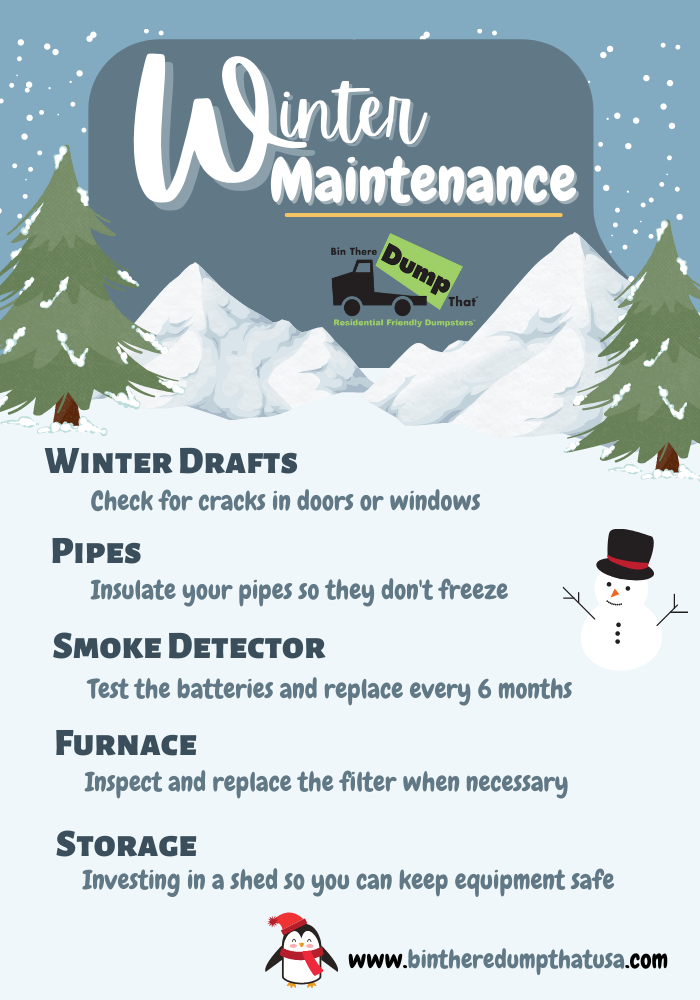
Winter maintenance is mostly scheduling. The jobs themselves are familiar, but the ones that matter (heating, alarms, roof, pipes) have to be done before the cold arrives, some of them by a professional, and the leftovers have to leave the property while a truck can still get up the driveway. This page organizes that work into an inspection you can do yourself, the checks you book out, when to do repairs, how to keep the house usable while they happen, what to do with the material that comes out, and how to keep watching the weather. It sits inside a reusable household cleaning timetable; this is the cold-weather block of that year.
Step 1: Inspect Visible Winter Maintenance Needs
Walk the property on a dry day in early fall and note what you see. This is a look, not a fix; the point is to build the list.
Area
What to look for
Who handles it
Windows and doors
Cracked or missing caulk, gaps in weatherstripping, failed seals (fog between panes), drafts you can feel
You: caulk and weatherstrip. Pro: pane or unit replacement
Roof, from the ground
Lifted or missing shingles, debris in valleys, flashing pulled away, sagging gutters, downspouts not discharging away from the foundation
You: gutter clearing from a ladder on firm ground, if you're comfortable. Pro: anything on the roof surface
You: disconnect hoses, shut off and drain exterior lines where there's an interior valve. Pro: irrigation blow-out
Pipes in cold spaces
Uninsulated runs in crawl spaces, garages, exterior walls; gaps around elbows and fittings
You: foam sleeves on accessible runs. Pro: anything requiring wall or ceiling access
Heating
Filter condition, date of last service, unusual noise or smell on first start
You: filter. Pro: everything else (Step 2)
Alarms
Manufacture date on the back of each smoke and CO alarm; whether every level and sleeping area is covered
You
Outdoor equipment and furniture
Mowers, trimmers, grills, patio furniture that will sit outside; anything you're not going to keep
You: store, cover or decide to let go (Step 5)
Trees
Dead limbs over the roof, driveway or power lines
Pro, and the utility if lines are involved
Two safety limits apply throughout. Don't go on the roof; the ground walk and a ladder at the eaves are the homeowner's share. And don't open electrical panels or gas appliances beyond what the manufacturer's instructions describe for the owner.
Step 2: Arrange Qualified Checks
Three checks are worth a professional appointment every year, booked early because fall calendars fill:
Heating system service. A furnace, boiler or heat pump inspection and clean by a licensed technician, including the heat exchanger and venting on fuel-burning equipment. Health Canada’s carbon monoxide guidance (Canada; published 2017, accessed October 2026) lists an annual furnace check among its prevention steps, alongside a certified CO alarm near bedrooms, because heating appliances are the main residential CO source.
Chimney and flue. If you burn wood or have a fuel-burning appliance venting through a chimney, an inspection and sweep before the season.
Roof. If the ground inspection turned up anything, or the roof is near the end of its service life, a roofer's inspection before snow load, not after.
Alarms are the owner's job, but on an official schedule. The US Fire Administration advises testing smoke alarms monthly with the test button, replacing non-sealed batteries at least once a year, and replacing every smoke alarm (including hard-wired and 10-year sealed units) once it is 10 years old or fails a test; CO alarms are tested monthly and replaced per the manufacturer's instructions (US federal; USFA guidance, accessed October 2026). Both countries' guidance expects alarms on every level and near sleeping areas. If an alarm has no manufacture date on it, treat it as past 10 years.
Step 3: Plan Suitable Repair Timing
Order the list from Step 1 by what the cold will make worse or impossible:
Before first frost: exterior water shutoff and draining, pipe insulation in unheated spaces, roof repairs, gutter clearing after leaf drop, tree work.
Before heating season: heating service, chimney, filter, alarms, caulk and weatherstripping (most sealants have a minimum application temperature on the label; check it).
Any time, but sooner is cheaper: window or door replacement, insulation upgrades, which are easier to schedule once the emergency work is done.
Regional timing varies a lot. "Before first frost" means September in some places and December in others; use your local climate, not a national calendar.
Step 4: Protect Household Access
Winter repairs disrupt more than summer ones because the house has to stay warm and the driveway has to stay open. When booking work:
Ask how long heat, water or power will be off and whether the contractor will restore it the same day.
Keep the driveway and a path to the entry clear for the crew, and for any delivery vehicle, which will need firm, ice-free ground.
Plan where tools and materials will be staged so they're not in the path you shovel.
If the work affects the heating system in a cold snap, have a backup: a portable electric heater used per its instructions, never a fuel-burning heater or generator indoors.
Step 5: Coordinate Removed Materials
Winter prep produces more to get rid of than people expect: old gutters and downspouts, replaced windows and doors, torn-out insulation, storm-damaged limbs, the outdoor furniture and equipment that won't survive another season, and whatever came out of the garage when you made room for the mower. Sort it into:
Reusable or recyclable: working equipment and furniture (donate or sell before the ground freezes), metal gutters (scrap), intact windows (reuse stores).
General debris: broken furniture, insulation, damaged doors and windows, limbs and brush. Dense items such as old concrete pads or stone need to be flagged to the operator.
Separate routes: old smoke and CO alarms (sealed-battery units go to household hazardous waste or back to the manufacturer), fuel from stored equipment, propane cylinders, replaced batteries, leftover sealant and paint.
Removed materials should leave before snow, both because collection is easier and because piles that freeze stay until spring. If the general debris pile is a dumpster load, the timing question becomes the next task: prepare for a winter delivery and loading window, since cold-weather delivery, placement and loading have their own conditions.
Step 6: Monitor Changing Weather
The inspection is a snapshot. Through the season, keep three things on a loose schedule:
After each major storm: a ground walk for ice dams at the eaves, gutters pulled loose, limbs down, and a look at the roof line from across the street.
During deep cold: open cabinet doors on exterior-wall plumbing, let a vulnerable faucet drip if your utility or plumber advises it, and know where the main water shutoff is before you need it.
Monthly: the alarm test and the furnace filter check.
If a mid-season storm produces damage, that becomes a repair-and-removal job in its own right: document it, call the right trade, and move the debris as soon as access allows rather than waiting for the thaw.