15 Winter Home Improvement Projects You Can Actually Do This Season
Winter is a good season for indoor home improvement projects. You're spending more time inside, contractors are often easier to book than in spring, and the dry winter air helps paint and some adhesives cure. The trick is choosing projects that suit the cold, planning around snow and short days, and having somewhere for the old materials to go so they don't end up stacked in the garage until spring. Below are 15 winter home improvement projects, what each one leaves behind, and how to plan the work and the cleanup. If you're planning something bigger, start by deciding what you want from the project: define renovation goals before requesting quotes.
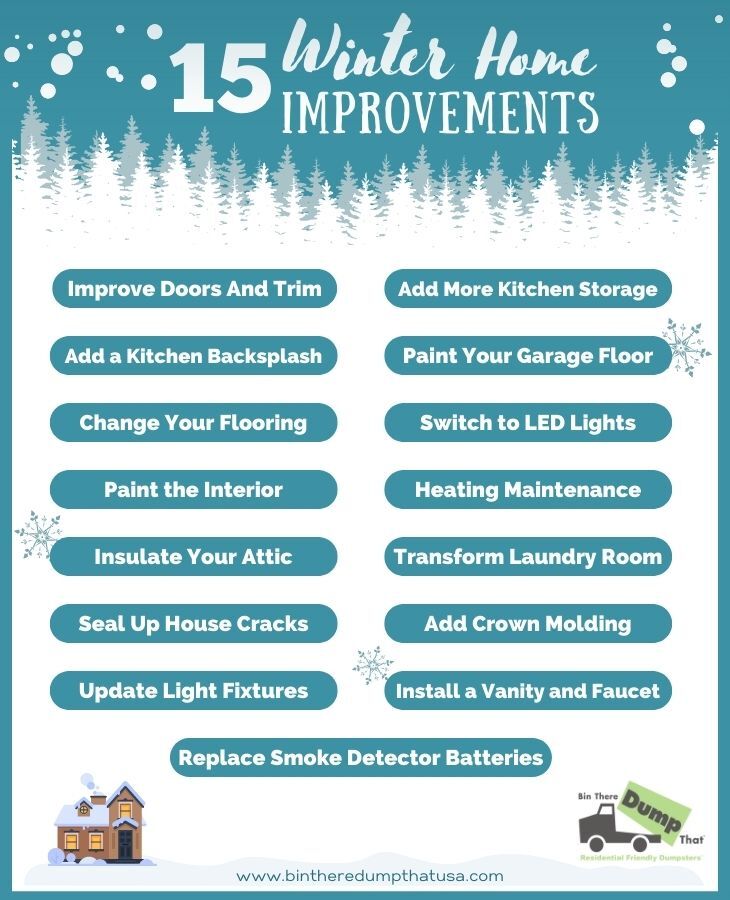
15 Winter Home Improvement Projects
1. Replace Interior Doors and Trim
New interior doors, casing and hardware update a whole floor without a remodel. Measure carefully before ordering; older homes often have non-standard openings.
Leaves behind: old doors, trim and packaging.
2. Paint Kitchen Cabinets or Add a Backsplash
Painted cabinets and a new tile backsplash change a kitchen for a fraction of the cost of new cabinetry. Ventilate while you work and follow the paint and adhesive instructions for curing time.
Leaves behind: tile offcuts, boxes, old hardware; empty paint cans go to your local paint or hazardous-waste drop-off, not the trash.
3. Replace Flooring
Drier winter air can help some adhesives and finishes cure, but wood flooring needs to acclimate to your home first; follow the manufacturer's instructions for acclimation and installation temperature. Swapping old carpet for hard flooring, or the reverse, is a classic winter project.
Leaves behind: rolled carpet and pad, tack strip, old flooring. This is one of the bulkiest projects on the list.
4. Paint Interior Rooms
Painting is easy to pace through the season, a wall a day or a room a week. Choose low-odor paints and keep some air moving, even when it's cold out.
Leaves behind: drop cloths, tape, and paint cans (leftover paint has its own disposal route).
5. Insulate and Clear Out the Attic
Adding attic insulation reduces heat loss, and it's the perfect time to sort through what's stored up there. Wear protective gear, and if the attic has old insulation of unknown type, have it assessed before disturbing it.
Leaves behind: years of stored boxes and belongings, plus insulation packaging.
6. Seal Drafts Around Windows and Doors
Caulk and weatherstripping around windows, doors and other gaps stop drafts and help keep moisture out of wall cavities. Follow product instructions for application temperature.
Leaves behind: very little: old weatherstripping and empty tubes.
7. Update Light Fixtures
New fixtures and dimmers make dark winter rooms more comfortable. Turn off the circuit at the breaker before starting, and hire an electrician for anything beyond a like-for-like swap.
Leaves behind: old fixtures and packaging.
8. Test and Replace Smoke and Carbon Monoxide Alarms
Heating season is the time to test every alarm, replace batteries, and check the manufacture date on the back. Replace alarms when they reach the end of the life the manufacturer specifies.
Leaves behind: old alarms and batteries, which go to battery and electronics recycling.
9. Clean Out and Coat the Garage Floor
A coated garage floor is easier to keep clean. Most floor coatings need a minimum temperature to cure, so check the label; in a cold climate, this may mean doing the cleanout now and the coating on a milder day.
Leaves behind: everything you clear out of the garage first, usually the biggest pile of any project here.
10. Switch to LED Lighting
According to the U.S. Department of Energy, residential LEDs, especially ENERGY STAR-rated ones, use at least 75% less energy and last up to 25 times longer than incandescent bulbs (U.S. Department of Energy, LED Lighting; US federal; accessed October 2026).
Leaves behind: old bulbs; check local rules for CFLs, which contain mercury.
11. Service the Heating System
Replace the furnace filter on the schedule the filter maker recommends, have the system serviced by a qualified technician if it's been a while, and consider a programmable thermostat.
Leaves behind: used filters, and an old thermostat if you replace it (some older models contain mercury).
12. Refresh the Laundry Room
Shelving, a folding counter and better storage turn a laundry room into a space that works.
Leaves behind: old shelving, cabinets and clutter.
13. Add Crown Molding
Crown molding adds a finished look to a room. Cutting it well takes practice, so many homeowners hire a finish carpenter.
Leaves behind: offcuts and packaging.
14. Replace a Bathroom Vanity and Faucet
A new vanity and faucet update a bathroom without a full remodel, and with less mess than tile work. Shut off the water at the fixture valves first.
Leaves behind: the old vanity, countertop and faucet; stone tops are heavy.
15. Add Kitchen Storage
Hooks, rails, pegboard, new shelves and pantry containers make better use of the space you have.
Leaves behind: clutter cleared out of the cabinets to make room.
How a Dumpster Rental Helps With Winter Projects
Not every project here needs a dumpster. Swapping bulbs or testing alarms won't fill one. But flooring, attic and garage cleanouts, vanity replacements and doors and trim can produce more debris than your regular trash pickup will take, and winter makes the usual workarounds harder:
No hauling in the snow. Instead of loading a truck and driving icy roads to the transfer station, the debris goes out the door and into the bin.
One place for everything. Old carpet, doors and attic boxes don't sit in the garage until spring.
Batch your projects. Doing the flooring, the vanity and the attic in the same rental period gets more value from one bin.
Right-sized. A small dumpster often fits a one- or two-room winter project; heavy materials like stone vanity tops or tile matter more than volume.
Driveway protection. Bin There Dump That bins are placed on boards to protect your driveway, which matters when it's been salted and plowed all season.
Planning Winter Projects: Schedule, Access and Waste
Winter adds a few constraints you don't face in summer. Plan for them before the work starts:
Define the scope. Pick the projects and decide which you'll do yourself and which need a contractor.
Check product and weather limits. Read the installation and curing temperatures for paint, coatings, adhesives and flooring. Some work needs a heated space, or has to wait for a milder day.
Book trades and deliveries. Contractors may have more openings in winter; confirm dates in writing and allow for weather delays on material deliveries.
Keep the house livable. Plan which rooms stay usable, keep a clear, salted path for workers carrying materials, and protect floors from wet boots.
Plan protected waste storage. Keep debris covered so it doesn't fill with snow and get heavier, and keep the bin's spot plowed and clear.
Confirm collection. Snowstorms can shift delivery and pickup dates, so agree on a plan with the rental location ahead of time.
Once you've decided a dumpster fits your winter project, the next step is to prepare for a winter delivery and loading window: clearing the placement spot, dealing with snow and ice, and keeping the bin accessible for pickup.